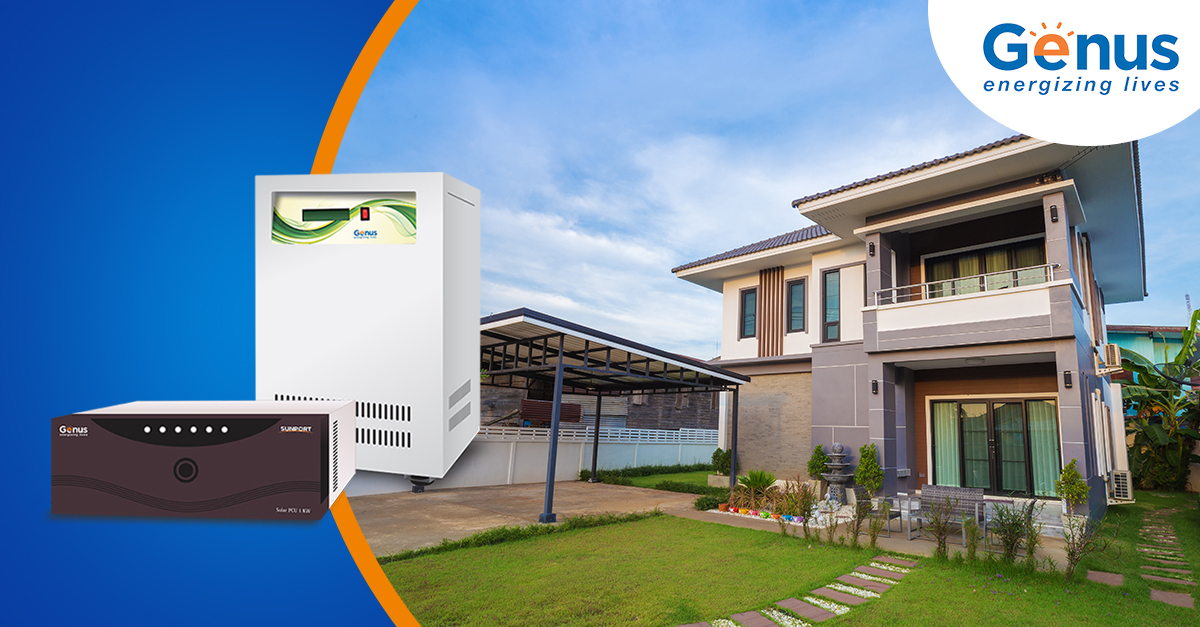
Frequent power cuts can make modern life unbearable unless you have an inverter. Uninterrupted access to power is more of a necessity than luxury during the present times. From running fans and lights to appliances and computers, everything needs electricity. You might be thinking all this time that inverter installation is a hassle prone and tedious process but with this guide, you will get to know that it is an easy process. In fact, you can save the labour cost as well if you know how to install and connect an inverter in your house. Here’s a complete guide on how to do it (also, please read the product’s user manual carefully before installing).
Determine the Ideal Place for Installation
Even before installation, you need to find a place that is suitable for the inverter. Here are some of the tips that will help you to determine the ideal place for your inverter:
- Ensure that the place is not near any flammable or explosive materials.
- The place must also be free from moisture or water.
- The place must not receive direct sunlight.
- There must be enough free space around the inverter once it is installed.
Accurate and Safe Mounting of the Inverter
It’s also important to place the inverter in a correct way. Here are some of the tips that you can follow for this:
- Either the inverter can be mounted on the vertical surface or on a horizontal surface.
- Ensure that the wheels of the inverter case are locked during battery installation.
- It can also be mounted on a perpendicular wall that is not prone to vibration.
Connecting the Inverter to the Mains
The inverter can be connected to the home electric system by following the below steps:
- First, you should disconnect the live wires of circuit breakers from the main distribution board, which is connected to the main double pole switch of the rooms that you want to connect to the automatic supply.
- Note that only the inverter-connected MCBs and their related load will supply continuous power in case of power failure. Now, you need to connect the three wires from the inverter (neutral, phase and earth) to the respective wires in the mains.
- Next, connect a 3-pin plug to the output of the inverter. This will be the input socket that will get the output current from the inverter.
Connecting the Battery to the Inverter
To connect the battery to the inverter, you just need to connect the terminals of the inverter with the respective terminals of the battery, i.e., positive to positive and negative to negative. As soon as you connect both the terminals, you will see that the inverter is getting power. And that’s all that is required to be done to set up the inverter-battery system.
Also Read: Clean, Green and Affordable Solar-Battery Combined Future Awaits India
In case the battery is chargeable via home supply, connect it to the outgoing main double pole MCB, using a 3-pin power plug and 3 pin power sockets to the mains.
Now that you know the dynamics of inverter installation, you can go ahead and buy an inverter for your home. However, if you are still not sure about the installation process, seek the help of a professional.
