Planning to buy an inverter for your home but worried about handling the hassles of installing it? Don’t be much surprised if we tell you that you can install it on your own. In fact, you can save labor costs while escaping all other installation pitfalls.
So, if you are trying to understand how to go about installing sine wave inverter at your home, read along till the end to understand what pure sine wave inverters are and how to go about installing them. However, while installing these components, you must follow the standards prescribed in the installation guides.
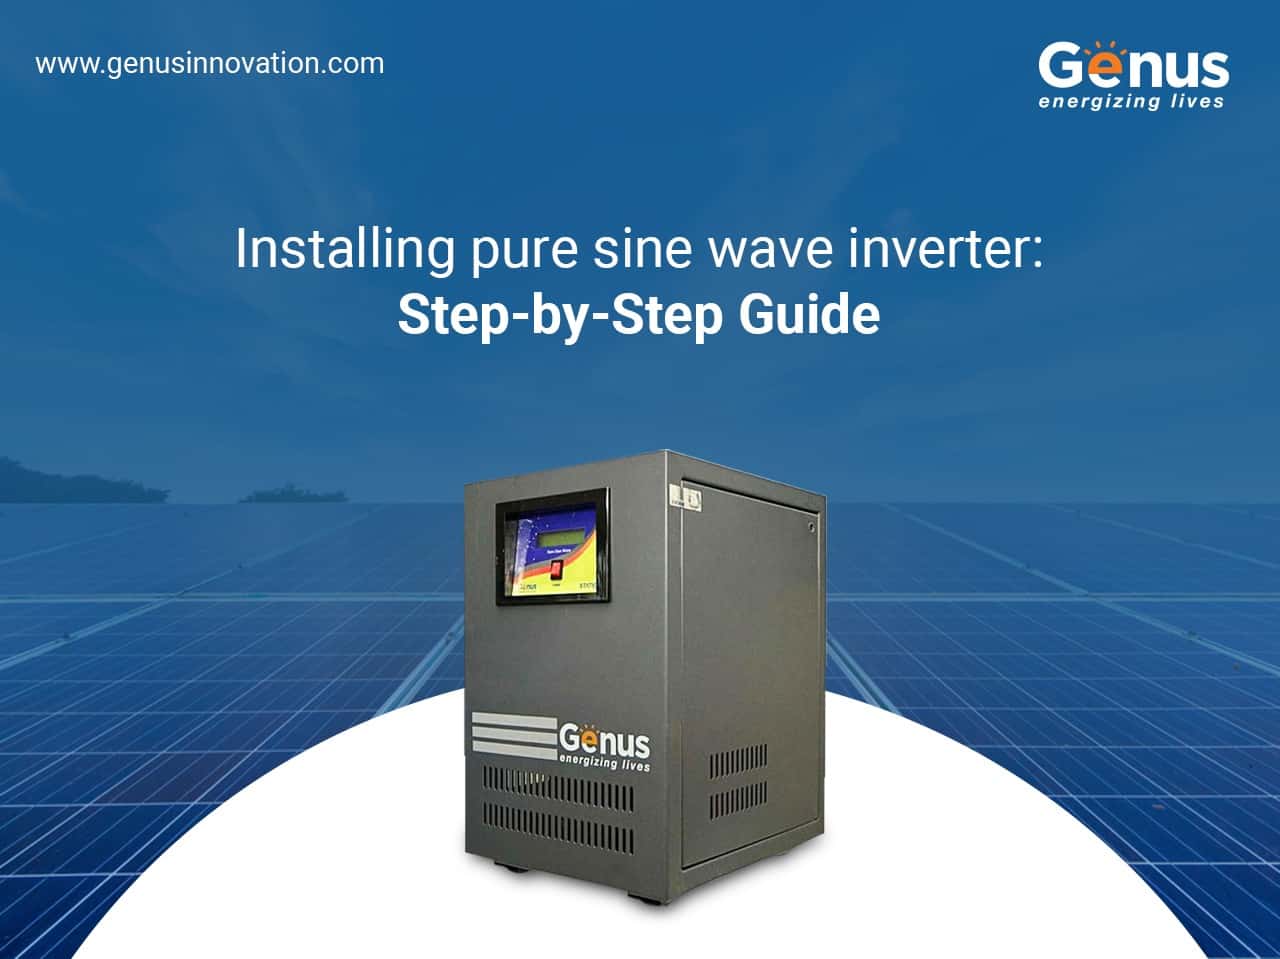
What Is A Pure Sine Wave Inverter?
A device that converts DC to AC, and alternatively AC into DC if needed is known as the inverter. An inverter transforms direct current into alternating current which later is used to deliver high-quality electricity current similar to utility standards to all types of home appliances.
If you have already done some research about solar products for home, you would have come across three system components i.e., batteries, alternator, and sine wave inverter. There are two main inverter technologies: pure sine wave and modified sine wave. Pure sine wave inverters are generally more expensive than modified sine wave inverters.
Pure sine wave inverters are made of high-quality electronics and are highly efficient in providing electric current with the same characteristics as utility companies, thus preventing damage due to overheating. On the other hand, modified sine wave inverters are cheaper but less efficient and cannot run all types of appliances.
Additionally, pure sine wave inverters are also transformers. Now that you know what a pure sine wave inverter is and how to install these.
Pure Sine Wave Inverter Installation
Having access to an uninterrupted power supply during power cuts is more of a necessity than an amenity. And installing sine wave inverter is a critical aspect of setting up an alternative source of power.
Inverters are sensitive to external factors like temperature, moisture, airborne contamination, etc. A cool, clean, and dry place with good ventilation would be ideal to install any type of inverter.
Following are the steps you can follow while installing an inverter at home.
-
Determining The Scope Of Work
The first step to installing a sine wave inverter is mapping out the whole area while considering the mounts of the inverter unit and auxiliary switches.
Ensure maintaining the shortest path between the inverter and the battery system to make the most of your battery installation. Creating a list of activities and collecting all the necessary materials and equipment beforehand could be an added advantage.
-
Installing Fuse Holder and Route Cables
The next step in installing sine wave inverter includes a fuse holder and route cables. Battery wiring should be protected with an appropriately sized fuse, located within 18 inches of the batteries. If possible, look for professional installation at the ends of the inverter as they carry a significant amount of current.
With the help of the right crimping tools or a professional electrician, you can get the job done. Now thread the cables through the freshly cut holes in the inverter and ensure that ends of the cables are protected with rubber boots. Whether you are an electrician or a DIYer, you can always refer to installation guides.
-
Mounting the Inverter Perfectly
Mounting your inverter accurately is also as important as selecting the right one for your home. So, once you have found an ideal place for your installation, it’s time to mount the inverter in its place securely. While installing, ensure that DC cables and inverter faces are visible and accessible for easy wiring.
Make sure that the wheels of the inverter case are locked during installation. After you have installed the inverter, check that all necessary wires and cables are attached to the inverter properly. After that, install a solid shield to protect your inverter without compromising the ventilation system. Installing solar products
-
Connecting Battery to Inverter
To connect any battery to the inverter, connect each terminal of the inverter with the respective terminals of the battery. As soon as both ends are connected, you can notice the inverter getting power.
Well, that’s all that is needed to be done while a pure sine wave inverter is at your home. And now that you know the exact dynamics of installing an inverter, you can go ahead to buy a sine wave inverter for your home without worrying about installation and other aspects.
And for the best inverters, choose Genus Innovation’s range of inverters and never again worry about power cuts. Connect with us today to know more about our premium power backup products.